How is the plugin installed?
The “Video Gallery for YouTube” plugin can be installed and enabled on your WordPress website in three different ways.
Step 1: Install and Upload
- Download the latest version of the plugin “video-gallery-for-youtube.zip”.
- Go to your WordPress website and log in.
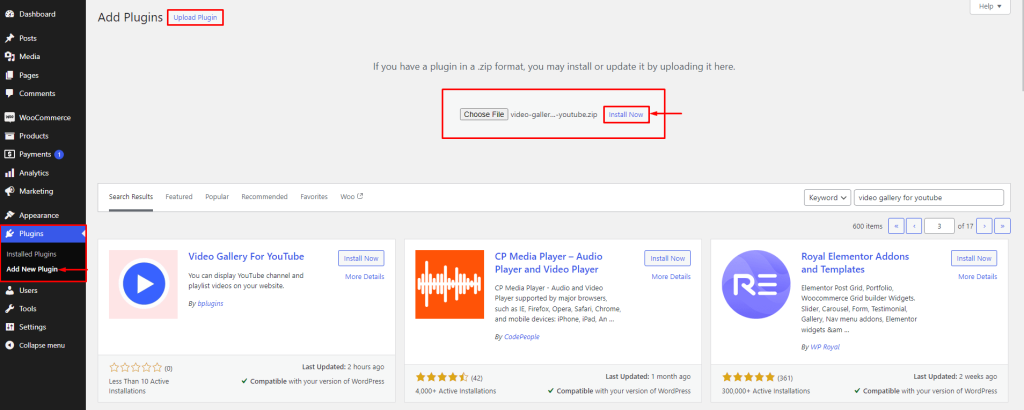
- Using the Plugins menu in the left site menu, select the Add New Plugin button.
- Next, choose your zip file and click the Upload Plugin button to upload it.
- After the plugin is uploaded, click the Install button to launch it.
Step 2: Search and install
- Go to your WordPress website and log in.
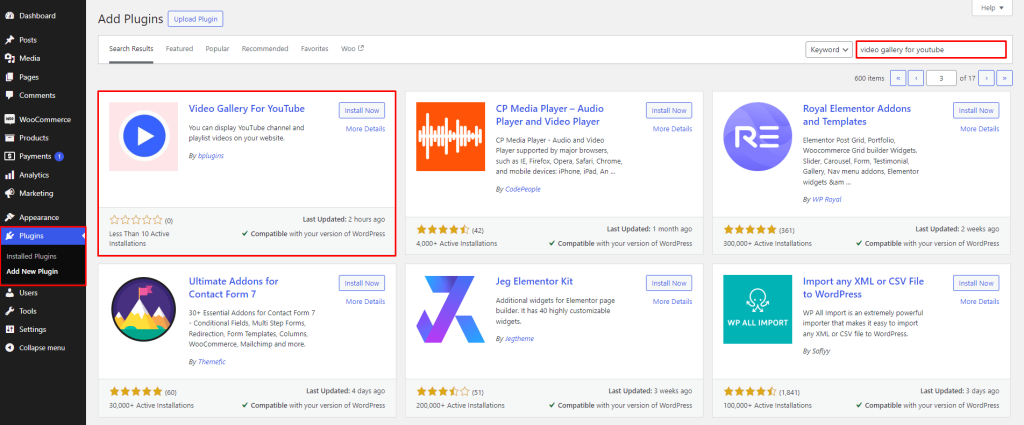
- From the left site menu, select the Plugins menu, then click the Add New Plugin button.
- Now type “Video Gallery for YouTube” in the search bar to find the right website.
- Click Install Now to install our plugin, as shown below.
- After that, press the “Activate” button.
Step 3: Use FTP to install
- Get the latest version of the plugin (“video-gallery-for-youtube.zip“).
- After extracting the plugin zip file, locate the “video-gallery-for-youtube” folder and all the required files inside.
- Upload the non-zipped plugin folder to your server’s /wp-content/plugins/ folder using your FTP software, such as FileZilla or cPanel.
- From the list of plugins, go to Dashboard » Plugins » Installed Plugins and select “Video Gallery for YouTube“.
- To activate the plugin, click the Activate button.
Add block
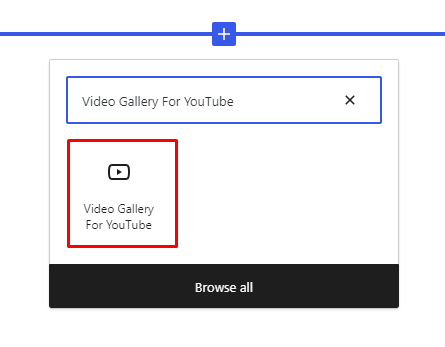
Add the block after searching for “Video Gallery for YouTube” in your Gutenberg editor. Add the unique block, in the same manner as it is added. Press the + button to display the search bar below. Then you can search by plugin’s name.
Credentials
Authentications
Run Google Cloud Console: First, navigate to Google Cloud Console and sign in.
Create Project: Create one if there is no previous project; If there is an existing project, click it.
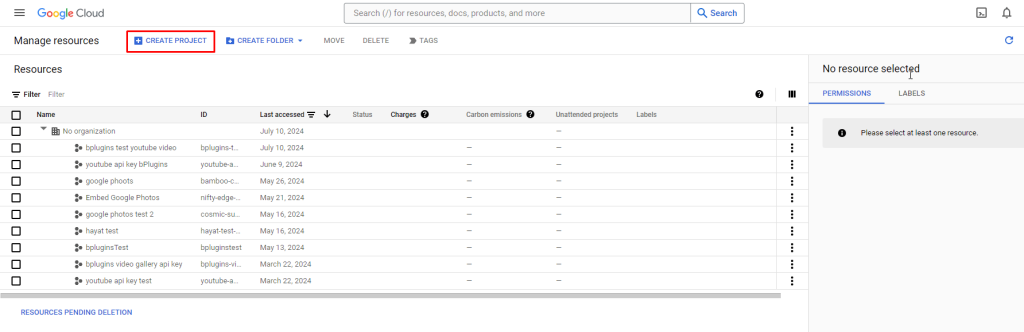
Now, we will create a new project. After signing in to the Google Cloud Console, we will see a button called Create Projects in the top bar; Click on it.
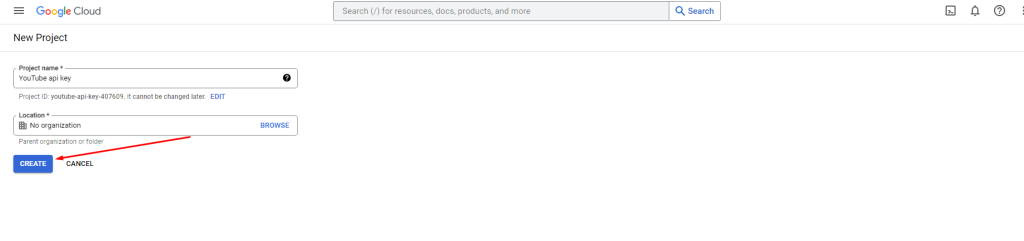
Give the project a Name and click the Create button.
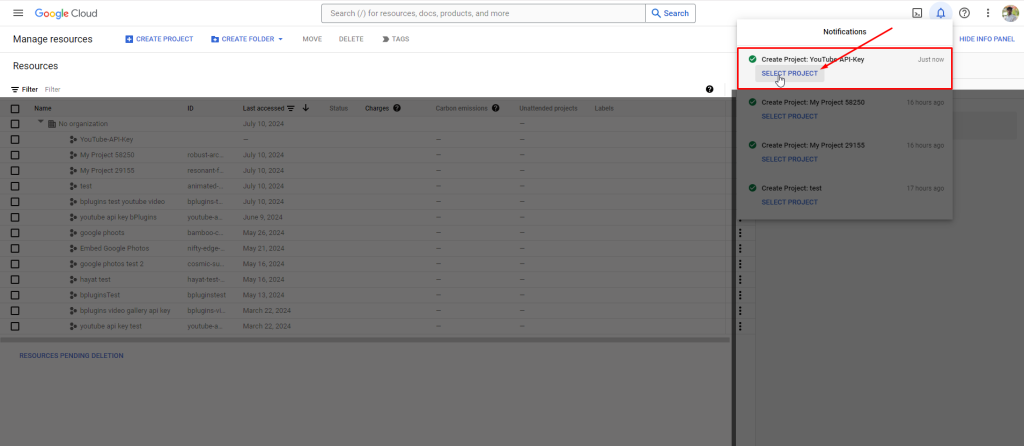
When the project is created, a notification will appear on the right side of the window; From there, select the project you created. I finished the project.
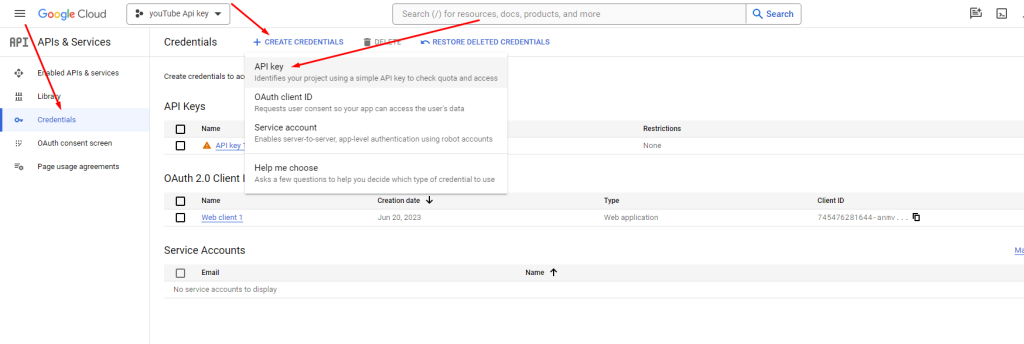
How do I copy an API key?
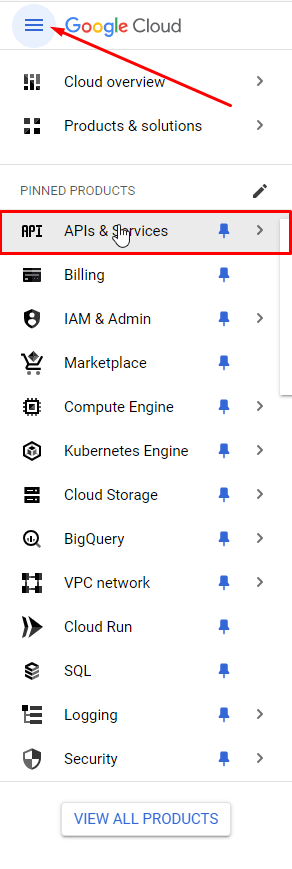
- Press the three dots on the top bar and first select “APIs & Services”.
- Click on “+Create Credentials” after selecting the Credentials .
- Select API Key using the drop-down menu.
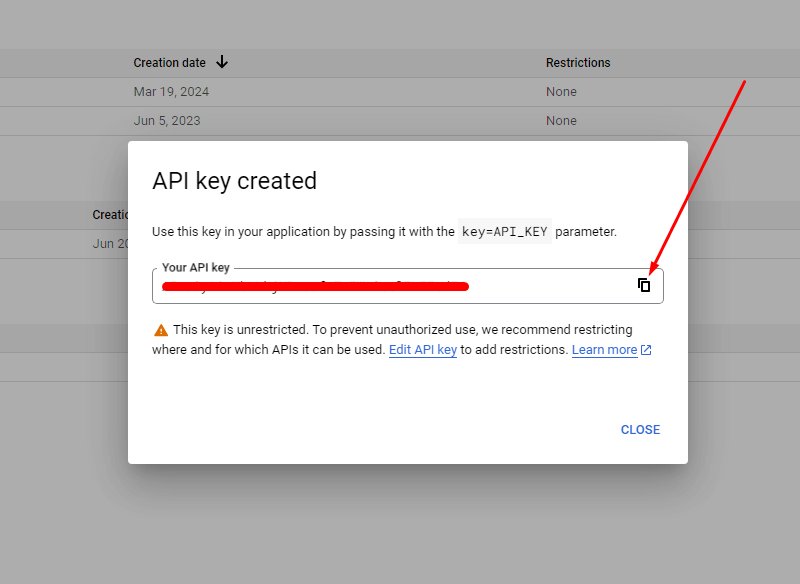
After copying API KEY to clipboard click on Close button.
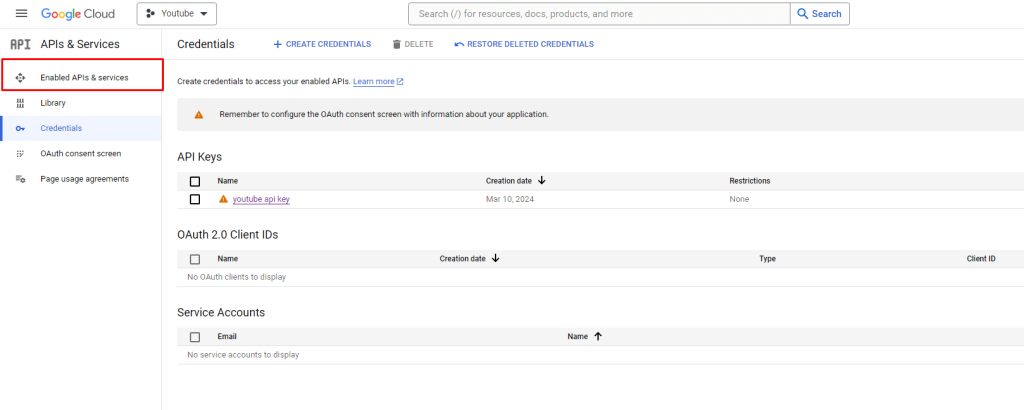
API for YouTube
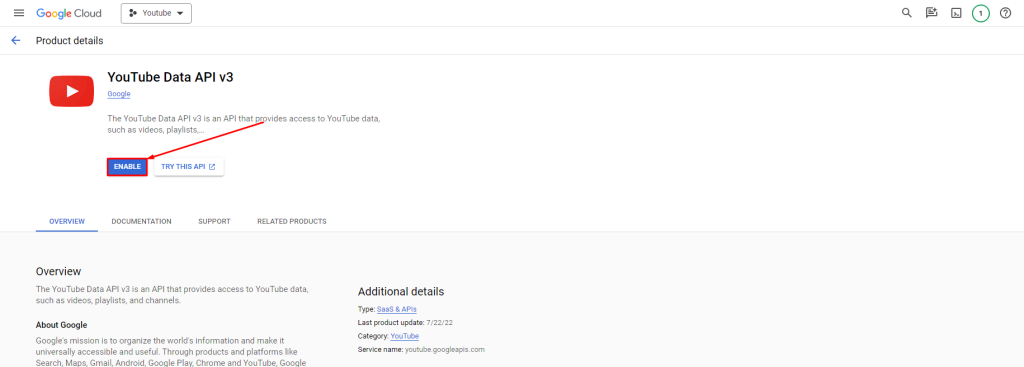
We have finished generating our API key. We are now going to enable an API service. Now let’s begin.
From the left site, select Enable APIs and Services.
Click + followed by Enable APIS and Services
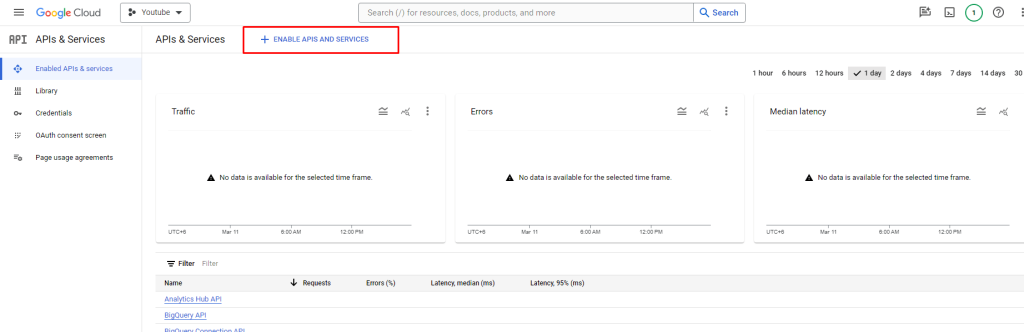
See YouTube API V3. Select the YouTube Data API v3 library by typing in the search bar below.
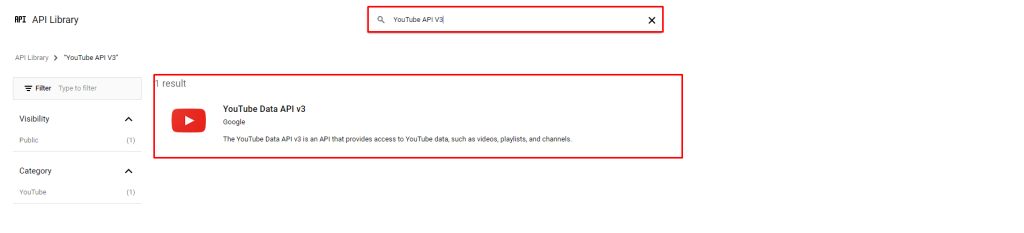
Finally, click the Enable button.
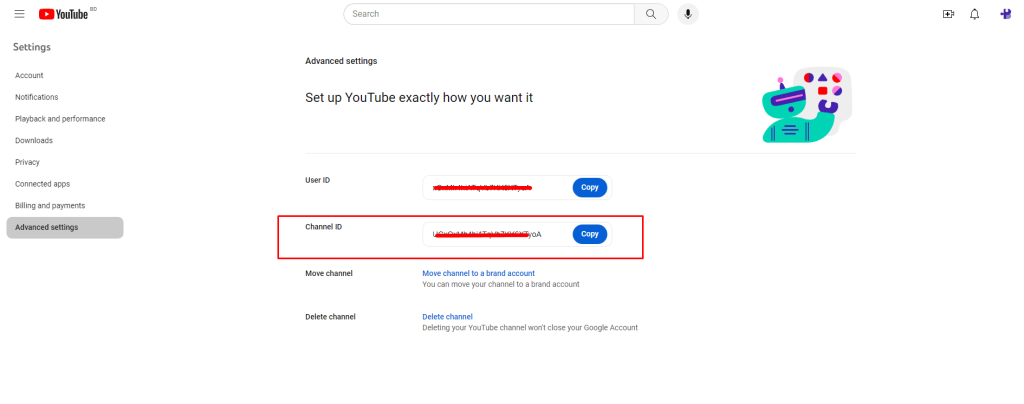
Generate Channel ID
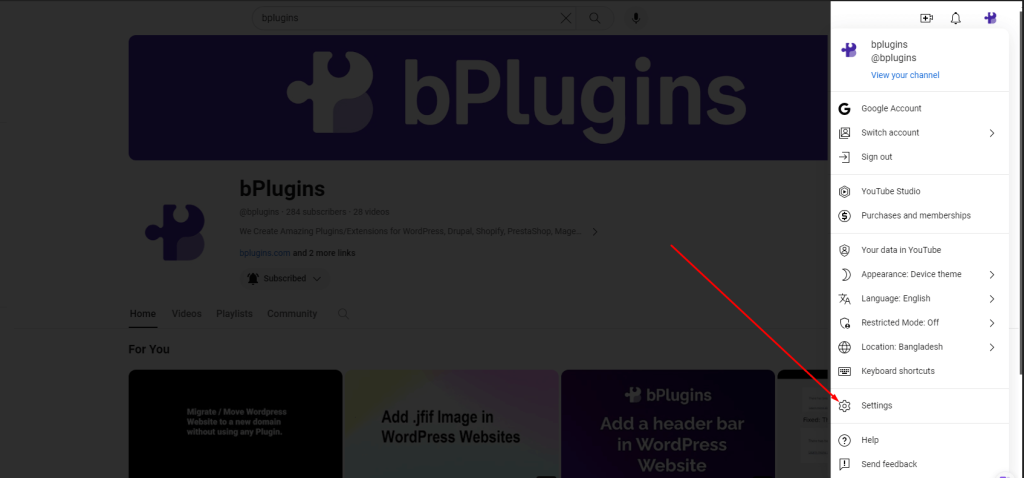
Sign in to your YouTube account.
Click the profile picture in the top bar, then click Settings.
Click on Advanced Settings from the drop-down menu on the left side.
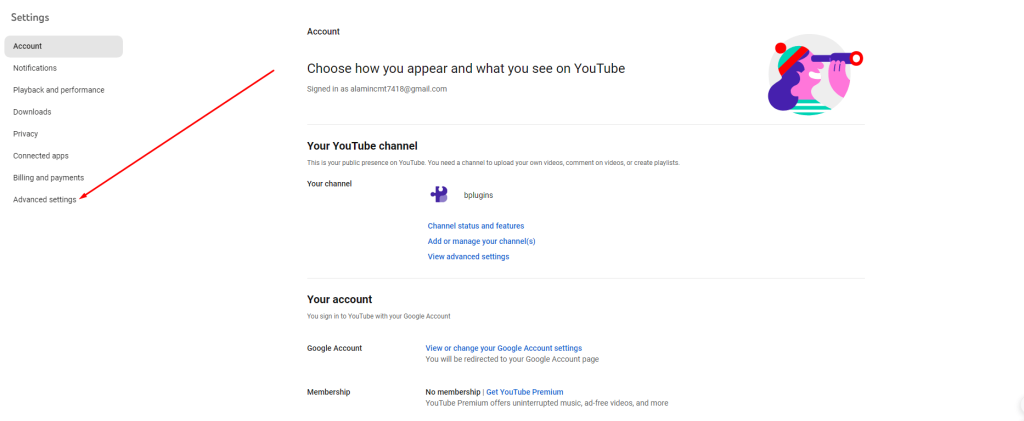
Now copy the channel id from here.
Playlist ID
The playlist prefix is where we want to show the playlist video.
I have selected a playlist. I will copy the following list= id from the playlist URL.
The URL will look like this, for example: https://www.youtube.com/watch?v=PcYaAw7gX7w&list=PLhpg_3n0OYC7B5oPL4qL_hqLy5LlJ79bV
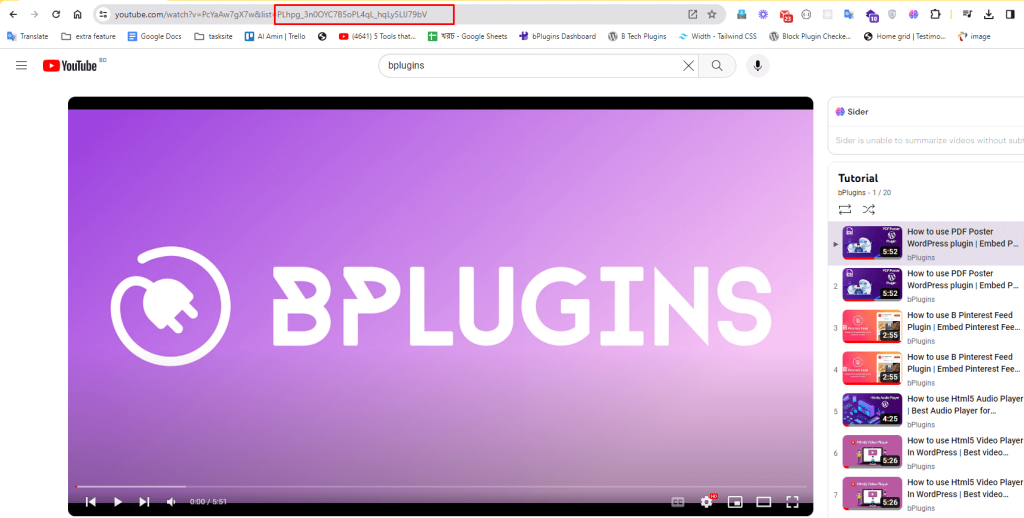
Copy the playlist ID from here.
Now, navigate to the block and paste the Resource ID field.
Configuration
Now, we will see how block settings work.
First, you add the plugin to your page. After installing the plugin, you will see options on the appropriate site. The plugin has two tab panels, General and Style.
General
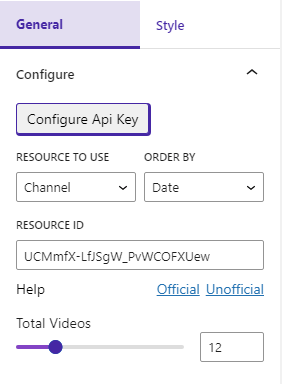
Configure
- Click the Configure API Key button, then the API KEY input option will appear; Enter your API KEY there.

- Resources to use: Channel and Playlist IDs are two types
- By Order: There are three options to filter the order of videos: Date, Title and Rating
- Resource ID: Depending on the resource being used, the resource ID should be entered here.
- Total Videos: You must specify the total number of videos you want to show.
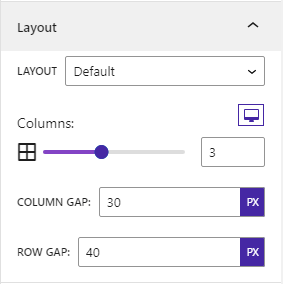
Layout
- Layout: We have three layouts: default, grid details and playlist.
- Columns: Configure columns per device. There are three devices. Mobile, Tablet and Desktop.
- Column Spacing: Configure column spacing.
- Set row spacing.
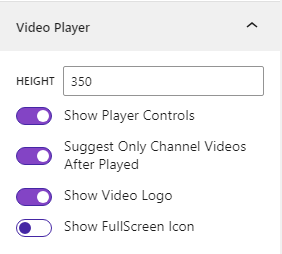
Video Player
- Height: Adjust to the designated height.
- User Control: Enable/disable user control.
- Channel Videos Only: You can only display videos from your channel after the current video ends.
- Video Logo: Whether to display or not.
- Show/hide full screen icon.
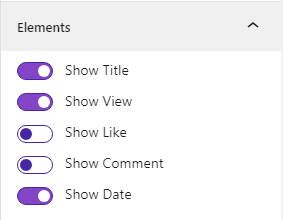
Elements
- Title: Show/Hide Title.
- Show/hide view.
- Show/hide LIKE.
- Comments: Press to show or hide them
- Date: Show or hide the date.
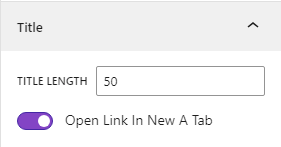
Title
- You have the ability to change the length of the title text and decide whether it should open in a new page
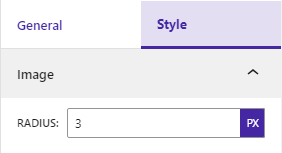
Style
Set the border radius of the thumbnail image of the video.
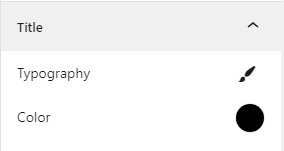
Title: Choose the font and color of the title.
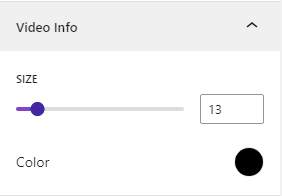
Set color and font size for video information.