There are three ways to install and activate the Video Gallery For YouTube plugin on your WordPress site.
1st Way: Install by Upload
- Download the latest version of the Video Gallery For YouTube (.zip file).
- Login into your WordPress Admin dashboard.
- Click on the left-side Plugin menu.
- Now at the top of the page, you can see the Add New button, click on that button.
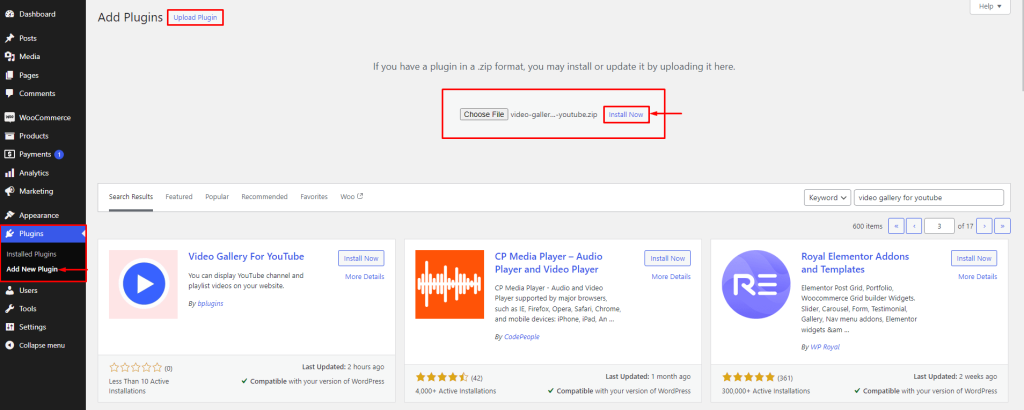
- Again at the top of the page, you can see the Upload Plugin button, click on that button for the following process.
- Click on the Choose File.
- Now upload the zip file(video-gallery-for-youtube.zip) and click on the Install Now button.
- Activate the plugin.
2nd Way: Install by Search
- Login into your WordPress Admin dashboard.
- Click on the left-side Plugin menu.
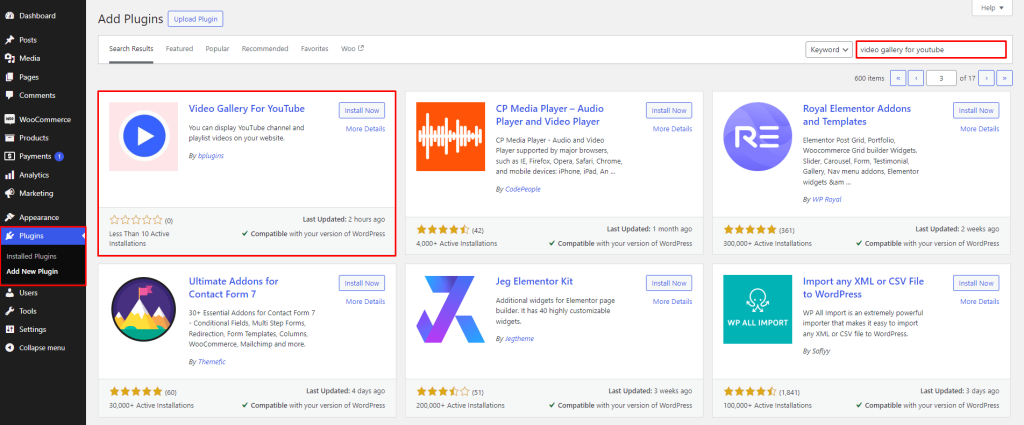
- Now, on the right side, search for the Video Gallery For YouTube.
- Click on the Install Now button.
- Once the plugin is installed, click on the Activate button.
3rd Way: Install using FTP
- Extract the plugin zip file(video-gallery-for-youtube.zip). It will create an video-gallery-for-youtube folder with all files and folders inside it.
- Using your FTP programs like Filezilla or cPanel, upload the non-zipped plugin folder into the /wp-content/plugins/ folder on your server.
- Go to the Dashboard » Plugins » Installed Plugins page and find Video Gallery For YouTube from the plugins list.
- Click on the Activate button to activate the plugin.
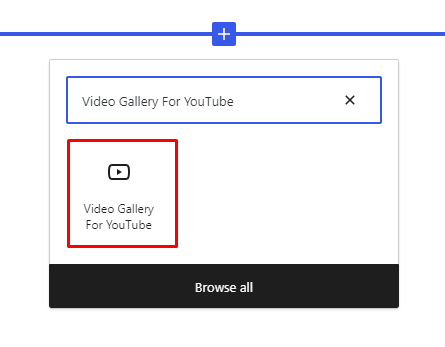
Add Block
In your Gutenberg editor find the Video Gallery For YouTube and insert it, just like other blocks.
How to add a block in a different way.