Table of Contents
- Single- Configure
- Sidebar Settings
- Settings
- Default Skin
- Fusion Skin
- Stamp Skin
- Controls
- Style
- Style for default skin
- Style for fusion skin
- Style for stamp skin
- Gutenberg Playlist Narrow- Configure
- Settings/Configure
- Content
- Settings
- Gutenberg Playlist Extensive- Configure
- Settings/Configure
- Content
- Settings
- Gutenberg Insert- Configure
Single- Configure
At first go to your Gutenberg Editor and insert HTML5 Audio Player block like before.
Sidebar Settings
Select the block, you will see the settings option in the right sidebar. You can see there are 3 tab for the settings: Settings, Controls, and Style.
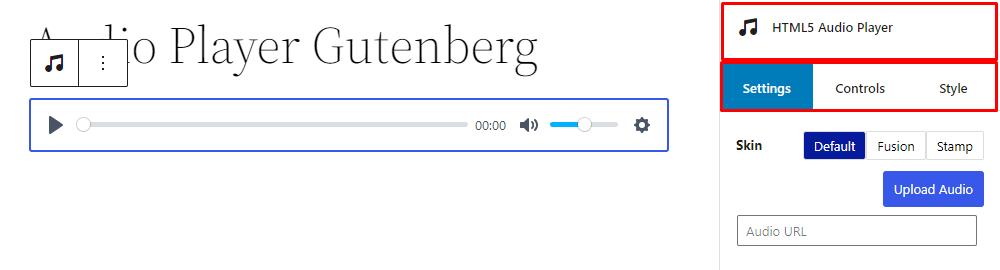
Settings
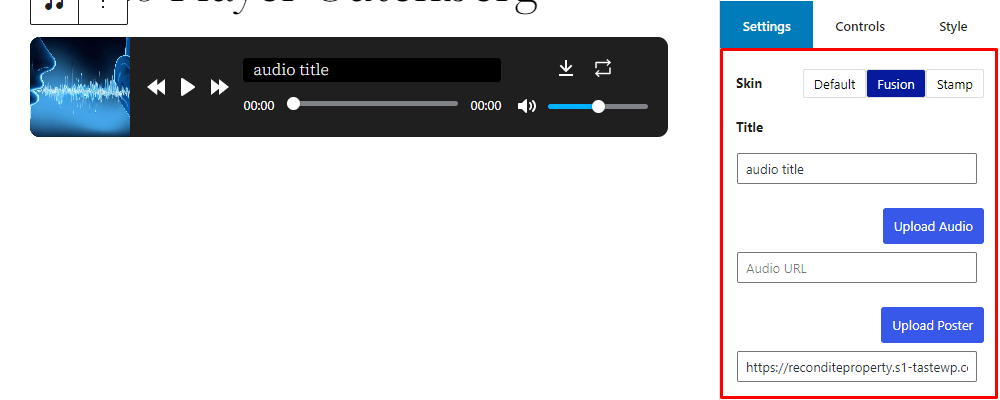
From the settings, at first, you can change the skin of the audio player, there are 3 skin available: Default, Fusion and Stamp.
Also, you can enable/disable Repeat, Autoplay, Muted and set Seek Time.
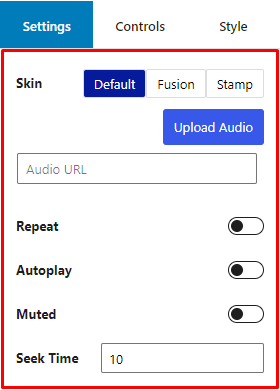
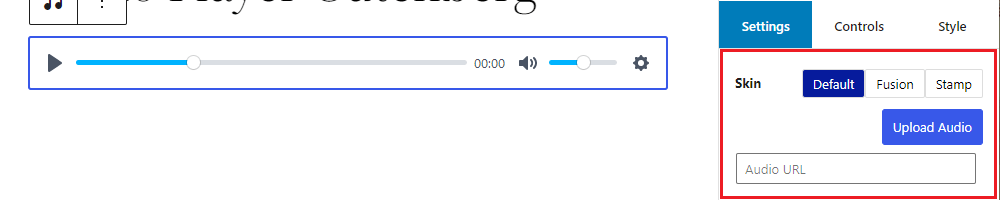
Default Skin
You can upload audio file or change the audio URL in default skin.
Fusion Skin
For the fusion skin, you can add audio title, upload audio file and poster.
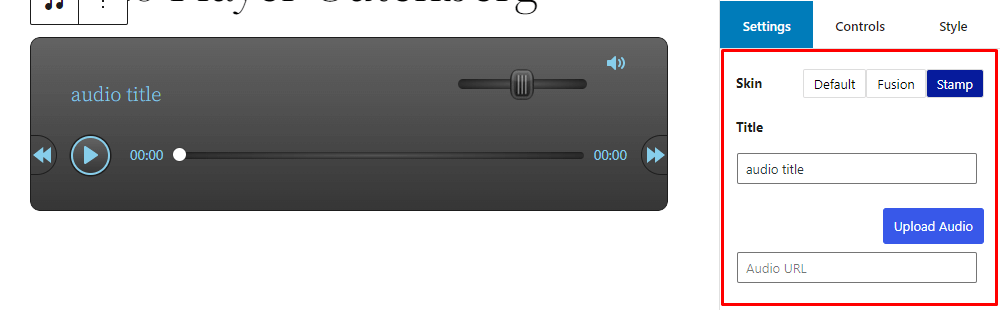
Stamp Skin
In stamp skin, you can add audio title and upload audio file.
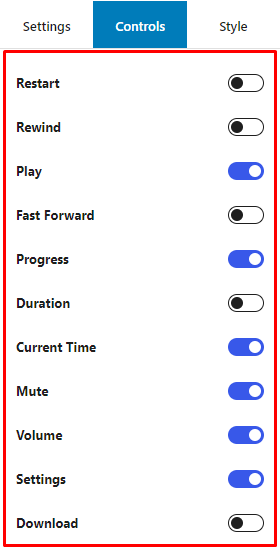
Controls
In controls you can show/hide the as Restart, Rewind, Play, Fast Forwards, Progress, Duration, Current Time, Mute, Volume, Setting, Download.
Note: controls are only for the default skin.
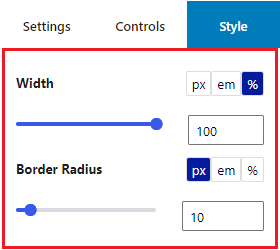
Style
You can change different style for different skin.
Style for default skin
For the default skin, you can change primary color, hover color, background color, width and border radius.

Style for fusion skin
For the fusion skin you can change width and border radius.
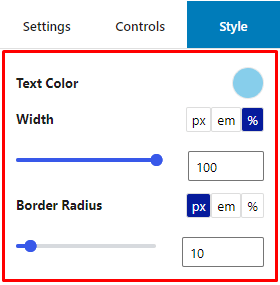
Style for stamp skin
For the stamp skin, you can change text color, width and border radius.
Gutenberg Playlist Narrow- Configure
In your Gutenberg editor, find the HTML5 Audio Playlist – Narrow block and insert, just like others block.

Settings/Configure
Select the block, you will see the settings option in the right sidebar. You can see there are 2 tabs for configure: Content and Settings.
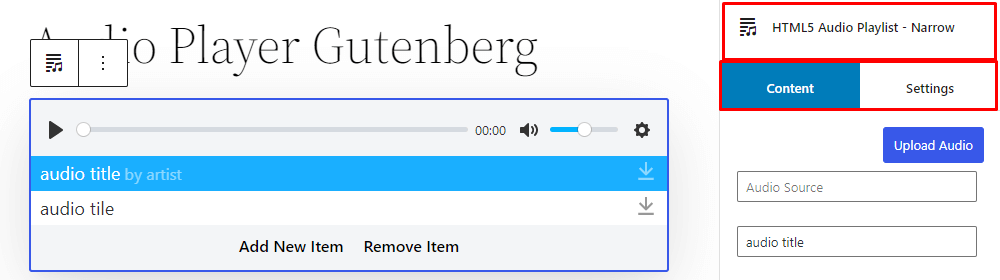
Content
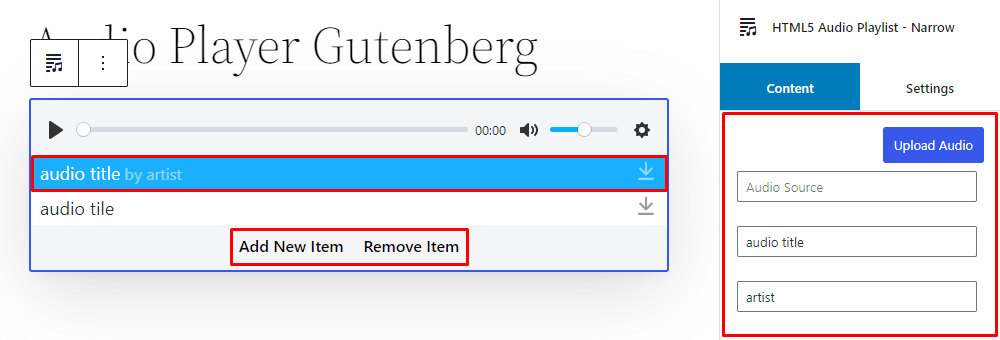
At first let you know that you can add or remove audios for playlist from the editor.
Select the and audio item and you can upload audio file change audio source, title and artist from content.
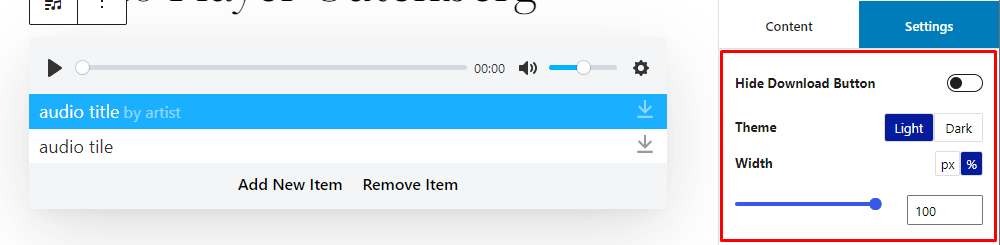
Settings
Switch to settings tab. From here you can show/hide download button, change player theme and set width of the player.
Gutenberg Playlist Extensive- Configure
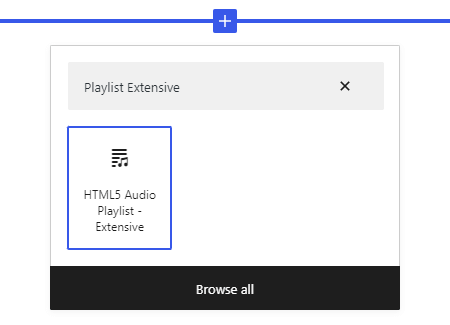
In your Gutenberg editor, find the HTML5 Audio Playlist – Extensive block and insert, just like others block.
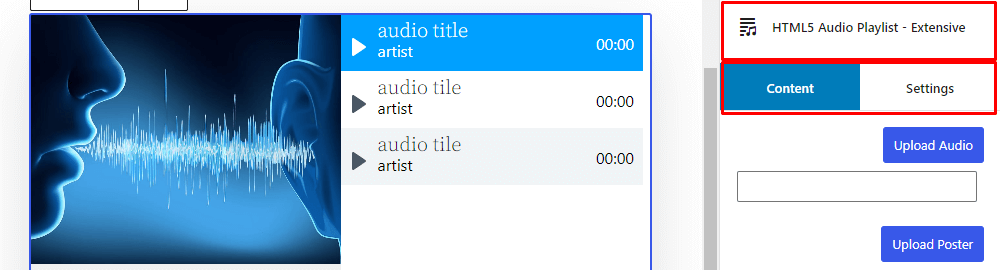
Settings/Configure
Select the block, you will see the settings option in the right sidebar. You can see there are 2 tab for configure: Content and Settings.
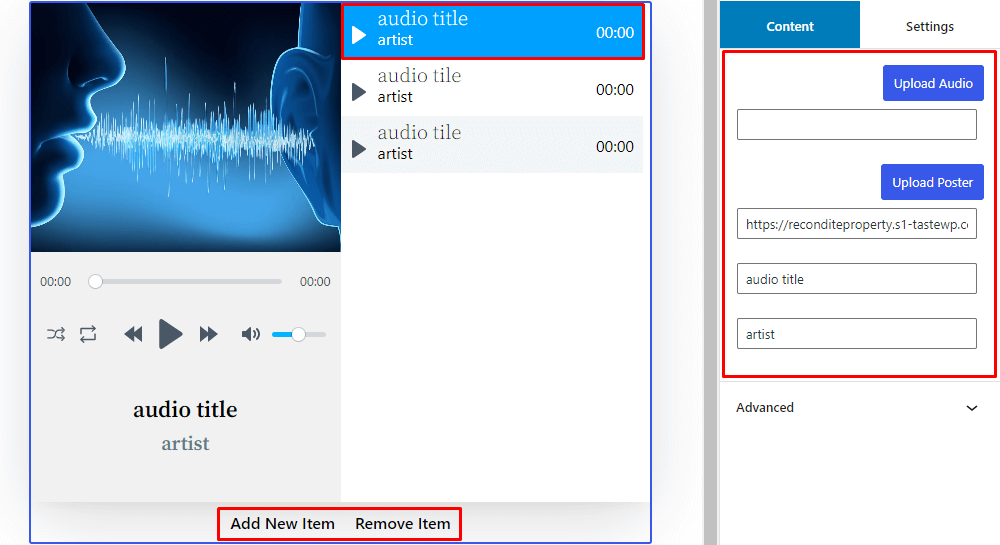
Content
At first you should know that you can add or remove audios for playlist from the editor.
Select the and audio item and you can upload audio file, poster change audio title and artist from content.
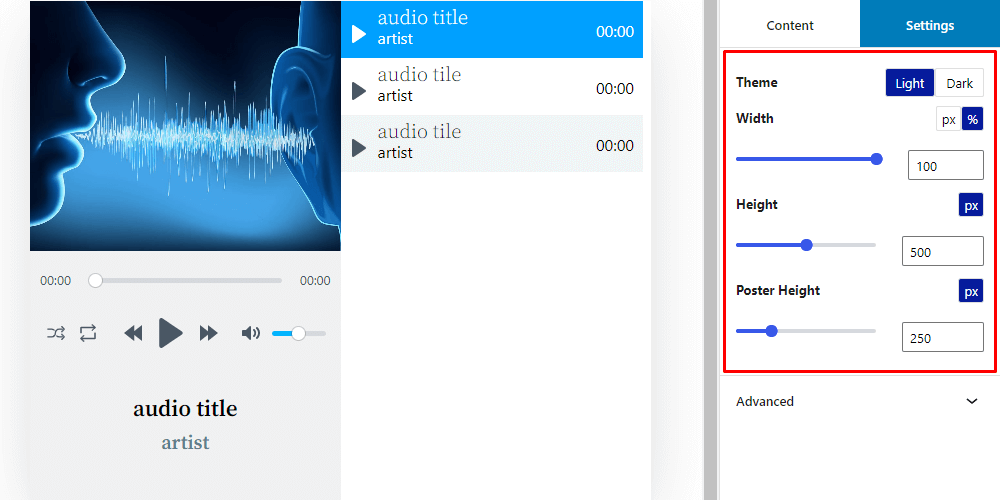
Settings
Switch to settings tab. From here you can change player theme and set width, height and poster height of the player.
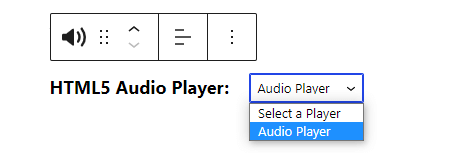
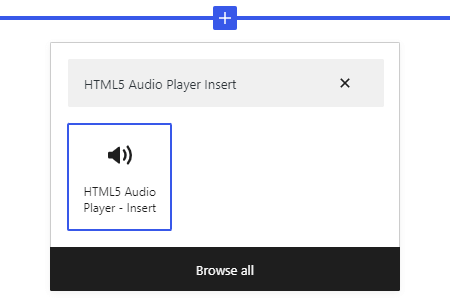
Gutenberg Insert- Configure
Using this block you can display the player that created from Html5 Audio Player > Add Audio Player in dashboard.
In your Gutenberg editor, find the HTML5 Audio Player – Insert block and insert, just like others block.
Then select the player that you want to display.