Obtaining a Client ID
Creating a Google Project
The first step involves setting up a Google API Project. If you do not have a Google API project set up in the API Manager, follow these steps:
- When you log into the API Manager, your screen should look similar to this

If you already have a listing of projects at the top, proceed to create a client ID. If not, read on.
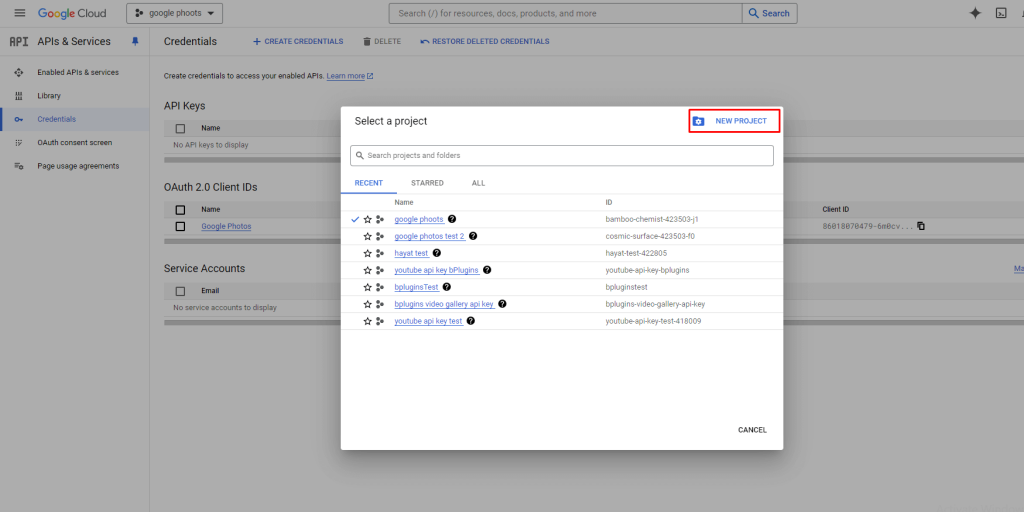
- Start off by clicking on the project selection link
- Now, click on the “NEW PROJECT”
- On the resultant screen fill out a project name and click “Create”

That’s it. Your project will now appear in the project selection dropdown.
Creating a Client ID
The Client ID is mandatory for Google. To get one:
- Select Your created project. You will see a screen like this.
- Note that the above screen will show up if you have an API Project already. If you don’t, you can create one as per the previous section.
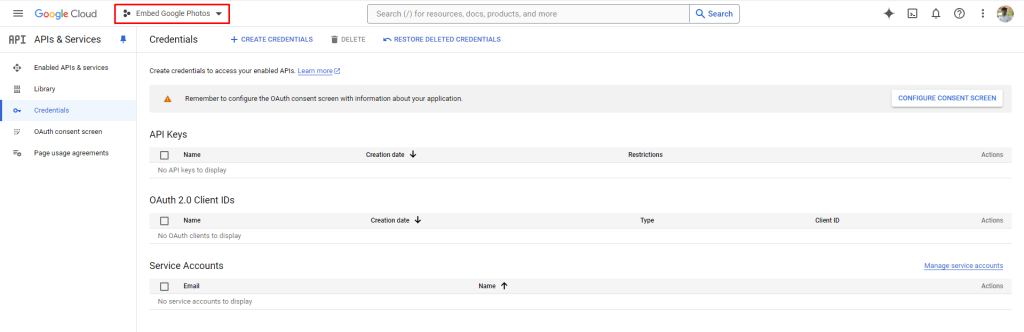
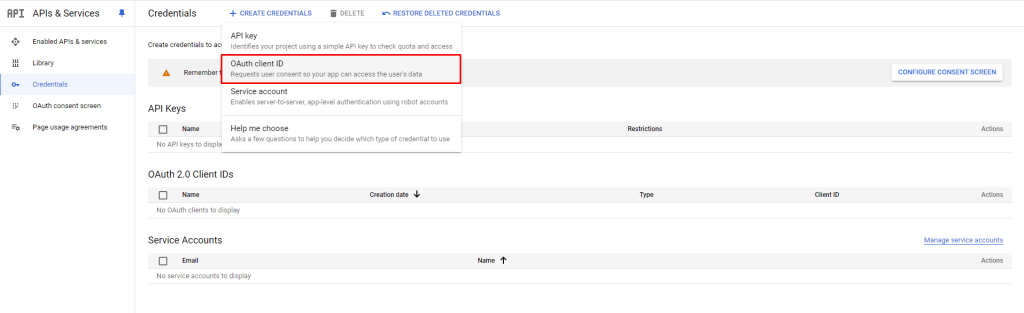
- Now you need to get your client ID. For this, click on the “Create Credentials” button, and select “OAuth client ID”:
- If you have previously created a consent screen, the buttons below will be enabled, and you can go to step below. If you haven’t, you will need to create a “Consent Screen” before you can proceed. Click on “Configure consent screen”.

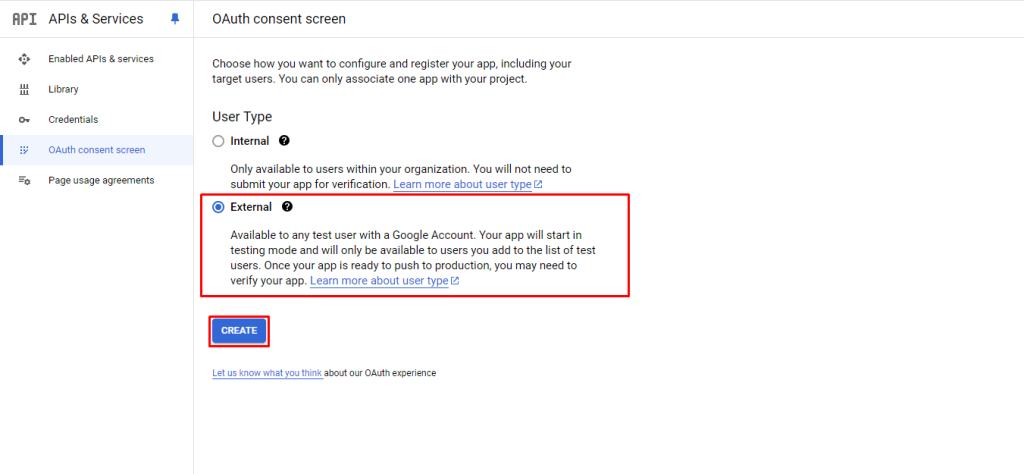
- Pick external, because you are going to use your GMail account for authentication
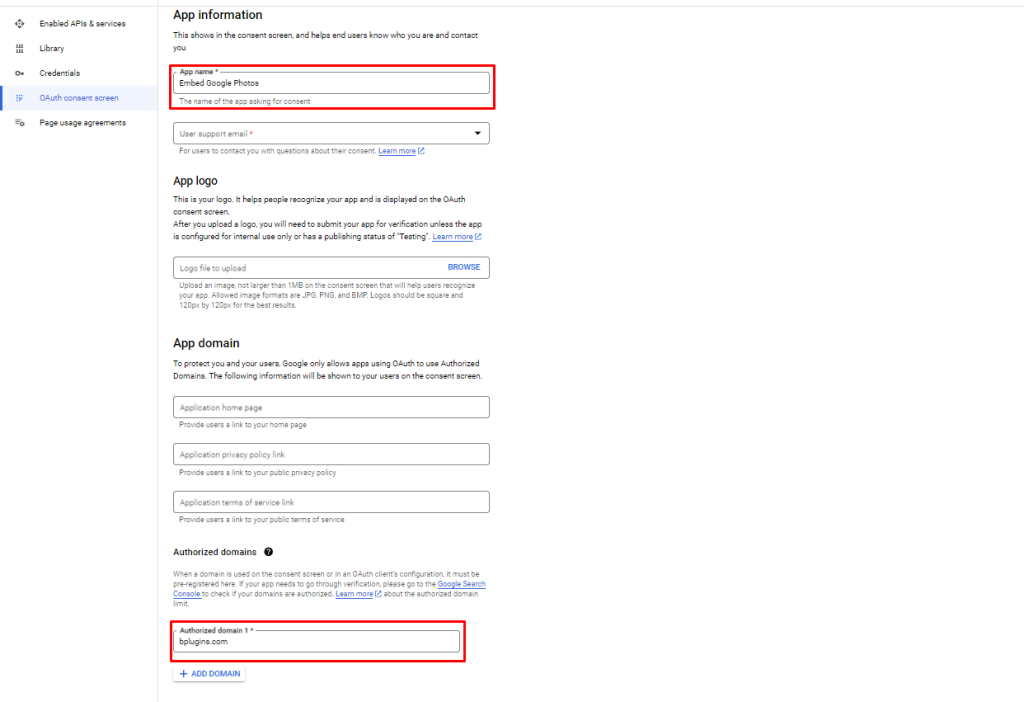
- On the consent screen provide the “Application Name” and provide your site’s domain name as the authorised domain (for me my authorised domain is bplugins.com; for you it will be whatever your site is), and “Save”
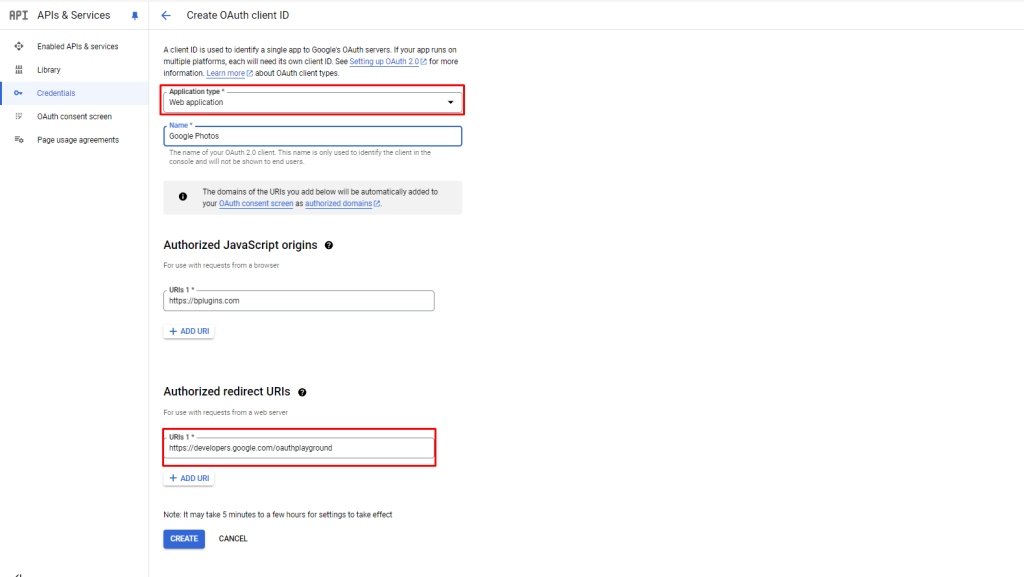
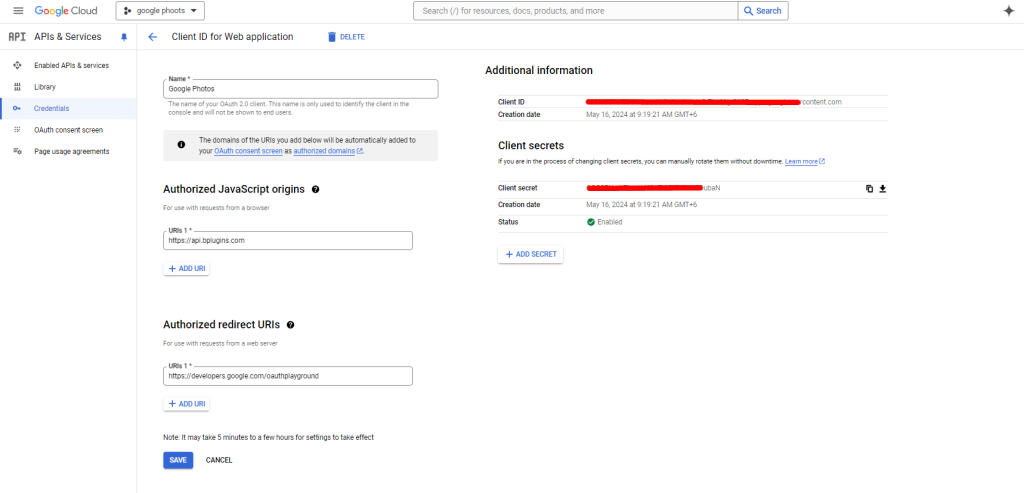
- Go back to Credentials → Create Credentials → OAuth client ID.Select Application Web Application and fill in the required fields, then click create button.
- Authorized redirect URIs : https://developers.google.com/oauthplayground
- You have successfully created the web application. You will see a screen like this: copy the client ID and client secret, and paste them into the Embed Google Photos input options.
Enable the API library
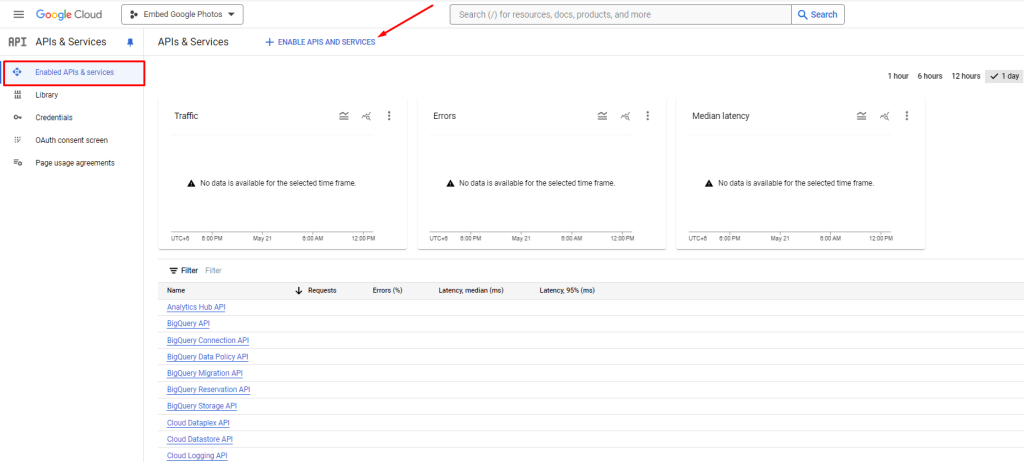
- Click Enabled APIs & services and then + ENABLE APIS AND SERVICES.
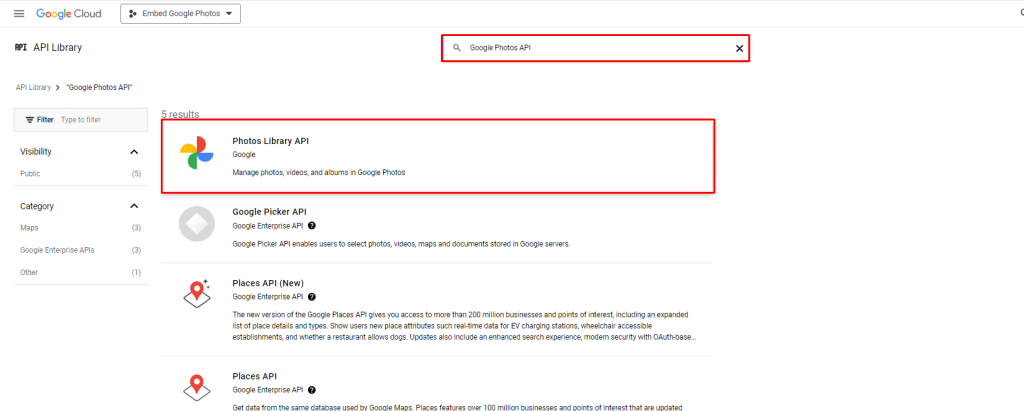
- Search for Google Library API. You will see a screen like this
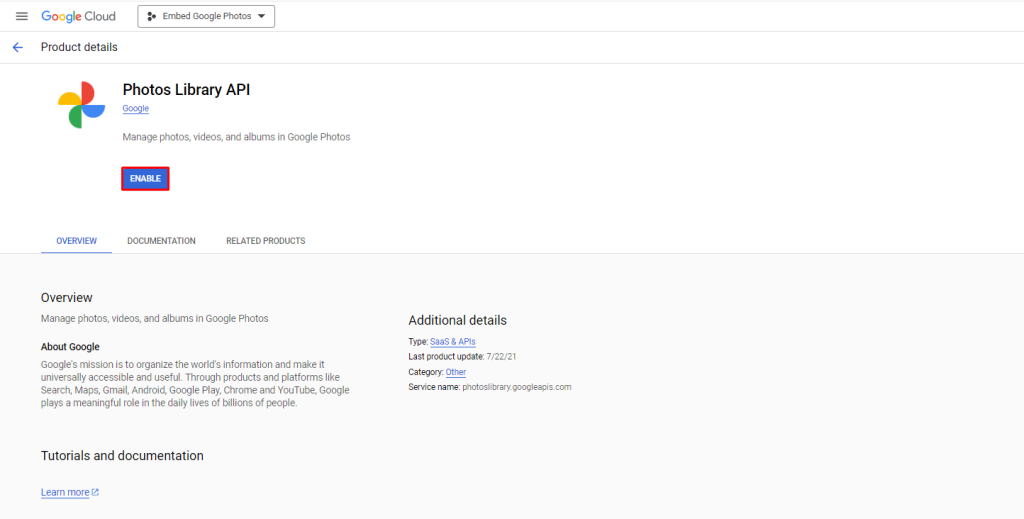
- Click the enable button.
Publishing the project
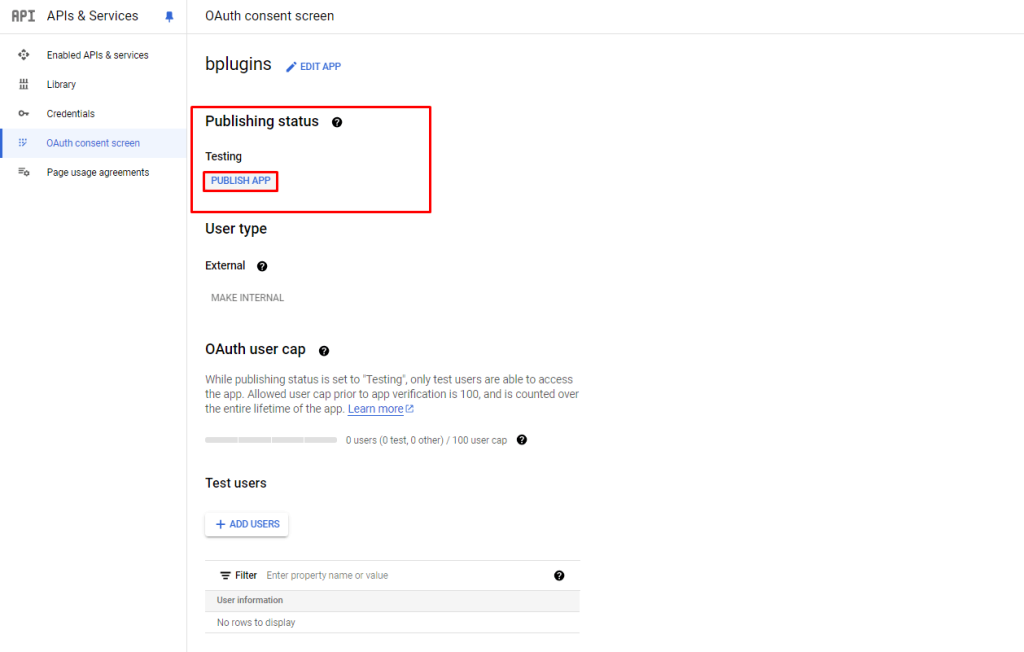
The last step before being able to use the client ID is to publish your project.
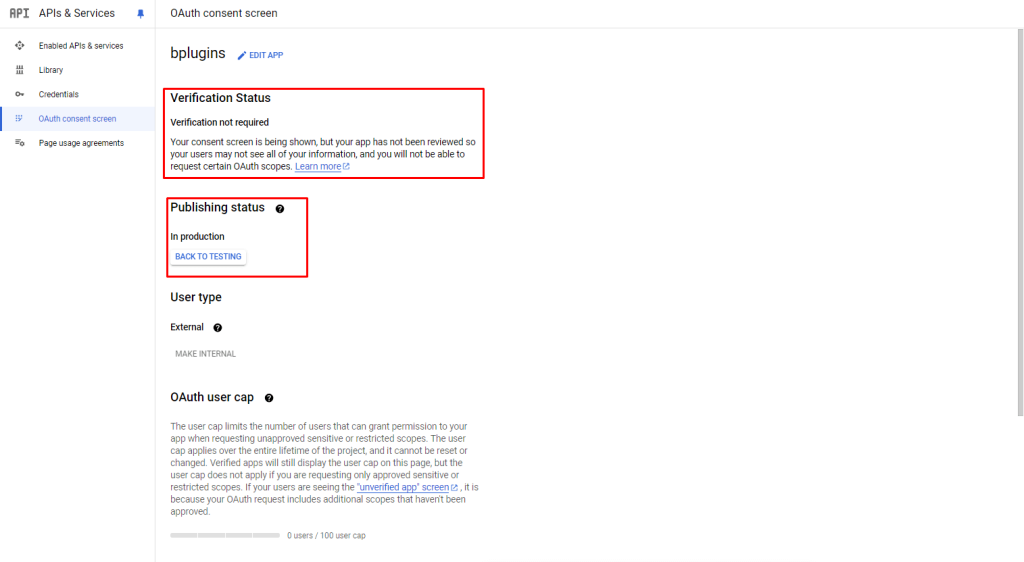
- Go to the “OAuth Consent Screen” in your Google Console, and click on the button to “Publish App”
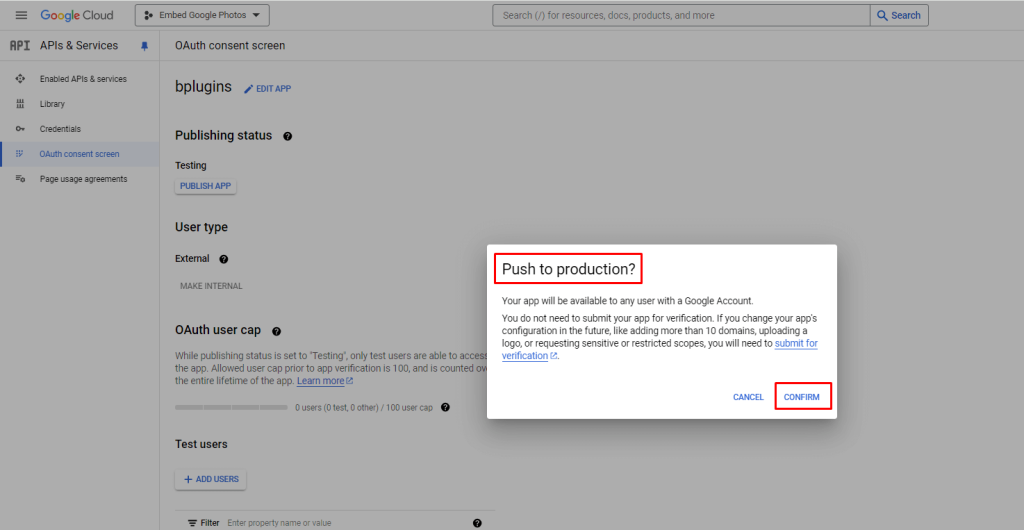
- You will be prompted to push your app to production, which you can confirm:
- You will see that your app is now in Production. If you have just used a web application, you will also see that there is no verification required: