There are four ways to install and activate the Embed Google Photos on your WordPress site.
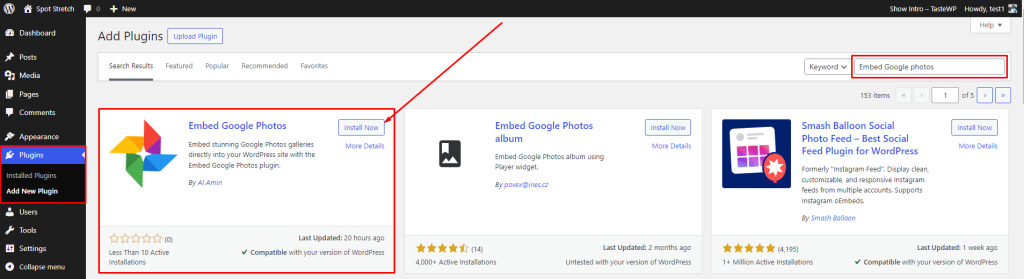
1st way: Install by Search
- Login to your WordPress Admin area
- Click on the Plugin menu on the left side
- Now, go to the right side and search for the “Embed Google Photos” plugin
- Click on the Install Now button
- Once the plugin is installed, click on the Activate button
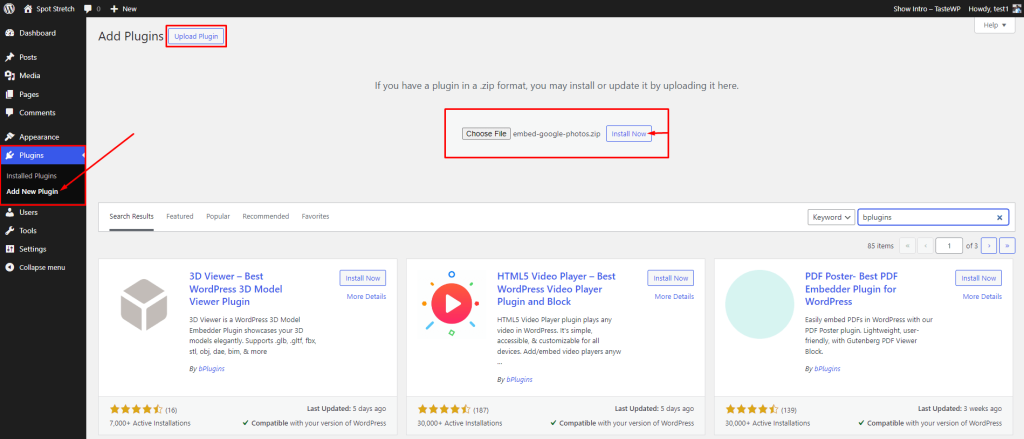
2nd way: Install by Upload
- Download the latest version of the Embed-google-photos (.zip file).
- Login into your WordPress Admin dashboard.
- Click on the left-side Plugin menu.
- Now at the top of the page, you can see the Add New button, click on that button.
- Again at the top of the page, you can see the Upload Plugin button, click on that button for the following process.
- Click on the Choose File.
- Now upload the zip file(embed-google-photos.zip) and click on the Install Now button.
- Activate the plugin.
3rd way: Install Plugin Using FTP
- Extract the above-selected zip file (embed-google-photos). It will create a ‘embed-google-photos‘ folder with all Plugin files and folders inside it
- Using your FTP programs like Filezilla or cPanel, upload the non-zipped Plugin folder into the /wp-content/plugins/ folder on your server
- Go to the Dashboard » Plugins » Installed Plugins page and find ‘Embed Google Photos‘ from the Plugin list
- Click on Activate Button to activate the Embed Google Photos Plugin